Showing posts with label pretzels. Show all posts

Monday, January 6, 2020

Chex Mix


Our family loves Chex mix. It's a crunchy snack that has something for everyone. One kid gobbles up the pretzels, another reaches for the mini breadsticks, and they all know to hand Mom the rye chips (unless Dad gets to them first). 

As much as we like the convenience and flavors of the premade bags from the store, we prefer to make it at home. What we lose in convenience, we gain in cost. In just over an hour, we have a big batch of homemade goodness that costs far less than its store-bought counterpart. And it tastes better, too!


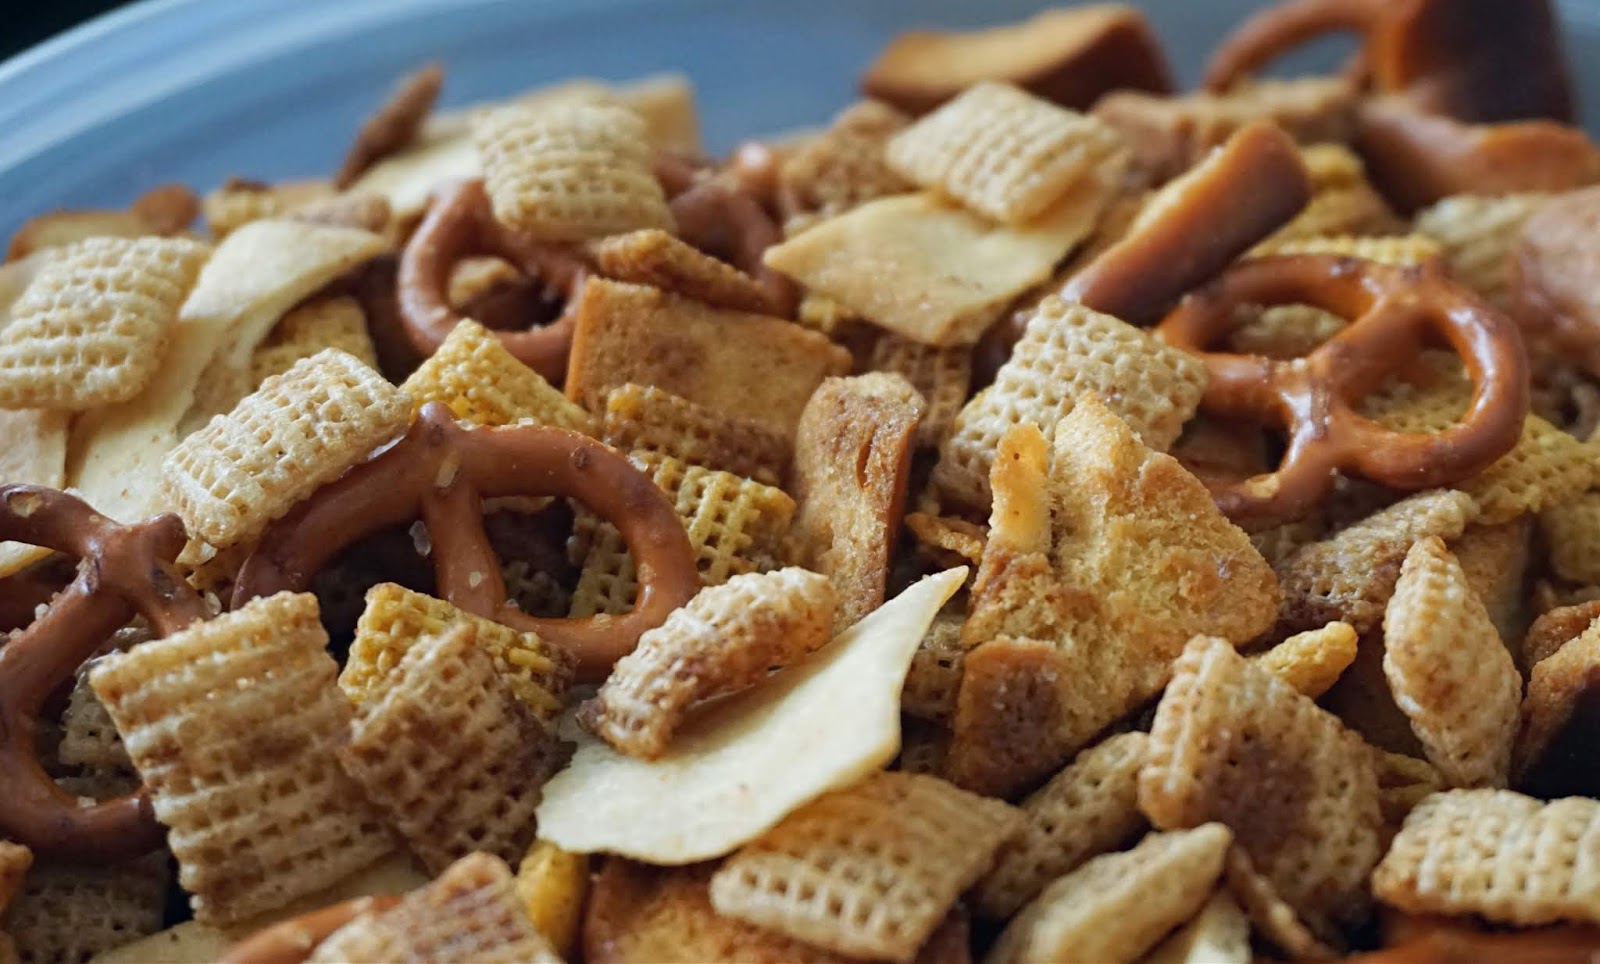
Though my version is sadly lacking my beloved rye chips, it adds in new favorites of bagel and pita chips. The problem though? Now the whole family fights over the same favorites! 

The recipe is very versatile and can easily handle ingredient changes. Cheese crackers, goldfish, mixed nuts, Cheerios, oyster crackers--use whatever you'd like, just have approximately 16 cups of snacks.

This Chex mix is simple to make, cost effective, and a family favorite!


Chex Mix
Ingredients:
4 ½ cups corn Chex cereal
½ cups rice Chex cereal
4 cups bagel chips (I make my own--super easy!--but you can buy them, too.)
2 cups pretzels
1 cup pita chips

3/4 cup butter, melted
4 tablespoons Worcestershire sauce
1 tablespoon seasoned salt
1 teaspoon garlic powder
1 teaspoon onion powder

Directions:
1. Add first 5 ingredients to a large bowl.
2. Mix remaining 5 ingredients and pour over contents in bowl. Stir gently until everything is coated.
3. Spread mixture onto 2 rimmed baking sheets. Bake at 250° for 1 hour, stirring every 15 minutes. Remove Chex mix from baking sheets to cool completely. Store in an air-tight container. 

Pin It

Wednesday, December 14, 2011

Tasty Tuesday: Reindeer Cupcakes

'Tis the season for baking and sharing! With all the Christmas parties and get-togethers happening, why not bring along a herd of adorable reindeer cupcakes? They're sure to produce many smiles and sporadic tunes of "Rudolph the Red-Nosed Reindeer."


See what I mean? They're just too cute! Jake and Alyssa were so excited to share them with their friends at church for their Christmas party.  Kids love cupcakes, (Who am I kidding? Adults love cupcakes!) but start adding things like cookies and candy, and the attraction grows. 

So, what are we waiting for? Let's make some cupcakes!


The first step is pretty simple - make your cupcakes.  Following me so far? Good.

Usually, this is where I'd grab a box of cake mix and hand it and all the ingredients to Jake and Alyssa and say, "Have at it," since a mix is perfectly fine, in my opinion, for cupcakes for elementary kids. Problem was, we are out of mixes.  From scratch cupcakes it was.


While the cupcakes are baking and cooling, you can begin preparations for decorating. These are the embellishments we used, but feel free to be creative and change it up.


The assembling of the cupcakes is challenging with a 3 year old and a 6 year old.  They wanted to go, go, go! They did not seem to realize that I am only 1 person. Crazy, I know, but it's true. There is indeed only one of me. I would frost a cupcake and hand it to a child to put on the whites of the eyes and the muzzle, all while the other child is frantically bouncing around in the chair, and I begin to frost another cupcake.


We eventually did get a pretty smooth assembly line going. There were things I did not let them do, like add the ears, antlers, and mouths. I finished up those details after I shooed the kids away from the table. Zac woke up from his nap about halfway through the decorating. His presence at the table added another element to the process.


Here's the breakdown -
  • fur = chocolate frosting, tapped with spatula to add texture
  • ears = pieces of Tootsie Rolls (warm in the microwave for 5-10 second. Pull unto pea-sized pieces, roll into balls, and flatten into ears
  • antlers = mini-twist pretzels, cut in half
  • whites of eyes = mini-marshmallows, cut in half
  • brown eyes = mini-M&Ms, glued with dab of frosting (used my decorator)
  • muzzle= Nilla Wafer
  • red nose= mini-M&M, glued with dab of frosting (used my decorator)
  • mouth = brown decorating gel


Hello, little cutie! I hope your short-lived life was a pleasant one!


Make these fun cupcakes for your next get-together and make some kids (or adults!) happy. Don't forget to come back and let us know how they turned out!


Yellow Cake
Ingredients:
2 1/4 cups all purpose flour                             1 1/3 cups sugar
3 teaspoons baking powder                             1 cup milk
1/2 teaspoon salt                                              2 eggs
1/4 cup unsalted butter                                    1 teaspoon vanilla extract
1/4 cup vegetable shortening

Directions:
1. Preheat oven to 350°F. Butter and lightly flour 2 round cake pans or 1 bread loaf pan.
2. In a medium bowl, whisk together flour, baking powder and salt.  Set aside
3. In a large mixing bowl, beat butter, shortening, and sugar until light and fluffy. Stir in vanilla.
4. Alternate adding flour mixture and milk, beating well.
5. Bake 30-35 minutes for round pans or about 45 minutes for loaf pan. Let cool for 5 minutes before transferring to wire racks to cool completely.


Linked to Watcha Making Wednesday.
Pin It

Tuesday, March 29, 2011

Snack Mix

We took the kids to the U of M Exhibit Museum of Natual History on Saturday. (Leighton wrote about it here.) The night before, we threw together some snack mix for our trip. They liked it so much, we made another batch yesterday. The fun part is using whatever you have on hand. Ours consists of colored goldfish, letter pretzels, Golden Grahams, mini marshmallows, milk chocolate chips, butterscotch chips, honey roasted peanuts, and craisins. It's so colorful, fun, and tasty! It also has some good not-quite-as-bad-for-you ingredients too. The kids take the time to enjoy the snack because of all the different options. Alyssa's favorite is the peanuts and least favorite is the Golden Grahams. Jake is the complete opposite. They trade making it a win-win. Zac, of course, eats it all.

Pin It

Tuesday, March 8, 2011

Play With Your Food

Sometimes the kids are too busy building a neighborhood out of Legos or saving the world from from evil villains to stop and eat lunch. "Can't eat now, Mom. Gotta go rescue Lyssa from the Monster Baby." Getting them to sit at the table and consume a wholesome meal can be frustrating. It's days like this we like to play with our food. 

Today, I used our Lego cookie cutters for their pb&j sandwiches. (If you have difficulty slicing through, use a sharp knife to trace the outside of the cutter.)  Then, I pulled out the coveted letter pretzels. The kids like them because they're fun. I like them because they're $1 a bag. Oh, and because they're fun. Jake practices spelling words, while Alyssa points out various letters.  They eat lunch without a fuss and without realizing that they're learning. It's a win-win.


I must warn you though, if you give a boy a person-shaped sandwich, he may put a pretzel in a strategic location. Said pretzel may come out with peanut butter, which just happens to be brown, on it. Use your imagination. Or don't.
Pin It