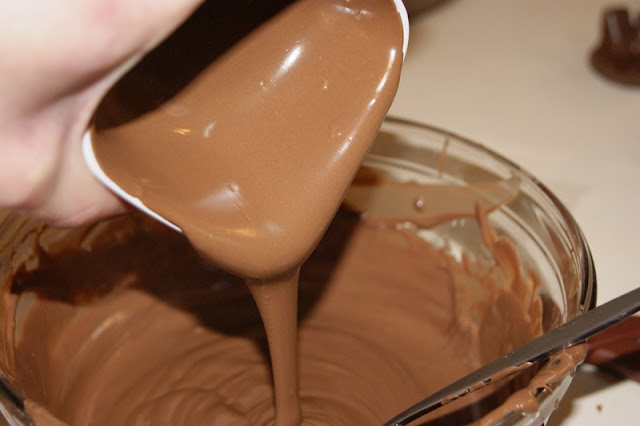
I have been looking forward to today for months! Making chocolate bowls to fill for Easter - how cool is that? As today drew near though, I became a little nervous. I am pretty comfortable in the kitchen. I love to cook. I love to bake. I love to let my kids help. This was different though. I've never tried anything like this, anything so delicate. My chocolate experience was limited to fondue, candy molds, covered strawberries, and covered pretzels.
And I was going to attempt this with a 5-year-old and a 3-year-old? What was I thinking?
Oh yeah, "Chocolate bowl - how cool is that?"
 |
| Swirl some melted chocolate on a piece of plastic wrap. |
 |
| Place the plastic wrap on a fluted metal bowl or tart cup. |
 |
| Once the chocolate is set, carefully peel off the plastic. |
It took a few tries to determine how much chocolate was needed, how thick it should be, and how big of a circle was best. Some of the chocolate gets stuck in folds of the plastic wrap. You have to be very careful to pull it out without breaking the bowl. Also, this is very important: make sure to dampen your work space before putting the plastic down. If you don't, the plastic will move around as you swirl the chocolate and stick to itself. It's not pretty. It doesn't work. Yes, I know from experience.
I have 2 small fluted bowls and 2 large ones. We experimented with other things to fill our time while waiting for the chocolate to harden.
 |
| Fill a bowl with chocolate. (It works best of you use one that's a little blurry. It is the bowl that's blurry, you know. Ahem) |
 |
| Once the chocolate sets and your bowl magically changes colors, flip it upside down to remove your chocolate bowl. |
Let me tell you, the first time we did this and the bowl actually fell out, it was the coolest thing! I was kinda surprised that it didn't break or crack. Also, make sure to wipe off any excess chocolate from the rim of the bowl before setting. Otherwise, the bowl will crack. (This one's not from experience. I read it and am passing it along.)
 |
| It popped out beautifully though. Do you see the pattern on the inside of the plastic bowl? That transferred to the outside of the chocolate bowl. Very cool. |
We tried a few other bowls and cups too. I will spare you the broken mess. One nice thing is that you can take those broken pieces and throw them back into the melted chocolate. You get a clean slate!
That is if you can keep the children from eating them all. Every time something broke, they said, "Can I have it? May I eat it?" I'm surprised we had any chocolate to make them in the first place . . .
That is what I saw every time I looked at them. I would tell them to stop eating it, their tummies were going to hurt, they probably had enough. My concerns were met with, "But it's just so yummy!"
This is a sampling of the bowls we made with 2 bags of Wilton candy melts. We ended up with 1 large bowl, 2 small round bowls, 2 square bowls, 10 large fluted bowls, and 6 small fluted bowls. And enough chocolate in their tummies to last a year.
My favorite quote of the day came from Jake:
"It tastes so good, you just want to eat it! But it looks so cool, you just can't."
*** Update ***
Here's how we used the fluted bowls for Easter gifts. Find all the details on this post.


I want to know where you got the magic color changing bowls? ;)
ReplyDeleteI can't give away ALL my secrets! :)
ReplyDeleteYou certainly have a lot of patience...great job!!
ReplyDeletefound you via google images.. looking up chocolate bowls.
ReplyDeletelove your suggestions, images, and your sons quote!
thank you for sharing.
Cool! Thanks for letting us know. :)
Delete