Showing posts with label frosting. Show all posts

Friday, March 23, 2012

Tasty Tuesday: Chocolate Cupcakes with Whipped Vanilla Frosting


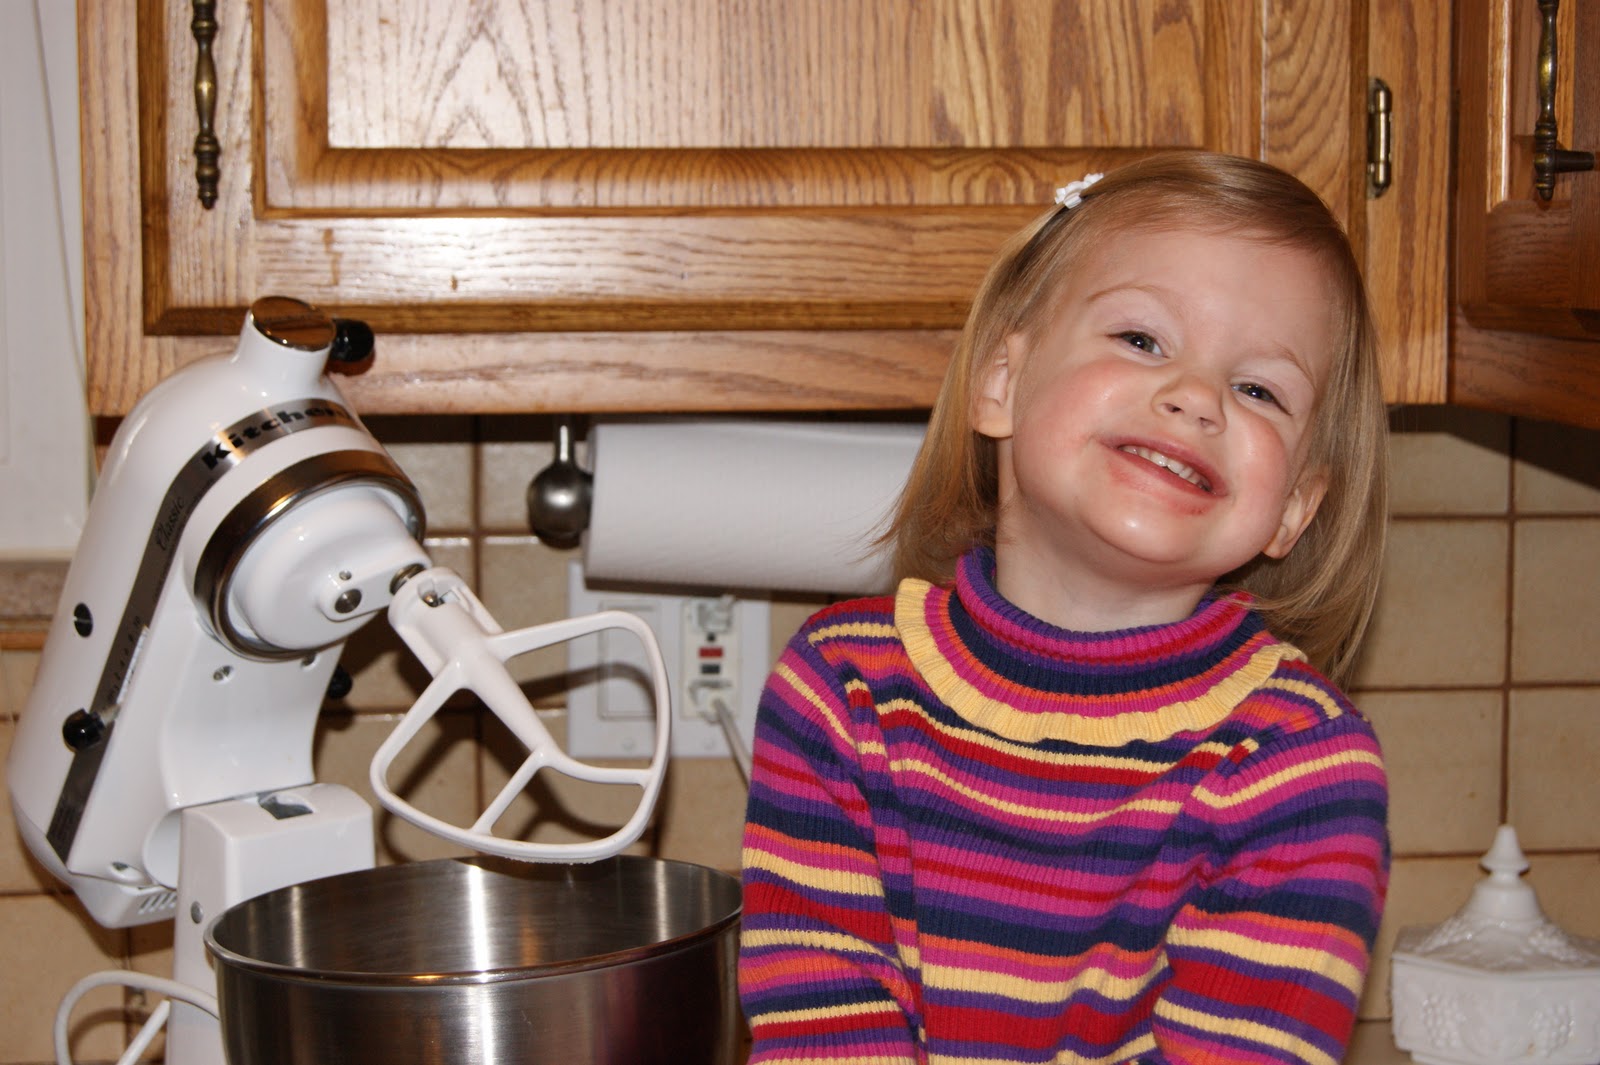
We made cupcakes this week so Alyssa could take them to church for her birthday. When you homeschool, it's just not as exciting sharing your birthday treat with your classmate family. I asked her what kind of cake she wanted even though I already knew the answer. Chocolate. Always chocolate. And pink frosting, of course.


Thirteen ingredients. This is why people use a box mix.

Seriously though, this is one of the easiest chocolate cake recipes since it's made in 1 bowl in 2 steps.


 Dump in your dry ingredients and sift.


Add in your wet ingredients and mix well.

Easy and quick? Yep.


The only "problem" per se is that the batter is runny. Extremely runny. And messy.

I made 24 cupcakes  and the batter rose over the edges, making it difficult to remove the cakes. The cupcakes are incredibly moist, so they're very delicate. I suggest filling the liners a little less and making a few more cupcakes. More is good, right?


After the cupcakes are cooled, begin making your frosting. I highly suggest this recipe. It's probably not so much the ingredients, but the technique that really makes it. This picture is just the butter after it was whipped for 8 minutes. Thank God for a KitchenAid! 

Here's another tip - if you take your butter out of the fridge and let it sit for a couple hours in 75° weather, it's probably going to melt. All over. It also makes it difficult to "whip" since it just kinda slops around. If that should happen, just pop the bowl into the freezer for 10 minutes or so to stiffen the butter up before whipping. Ask me how I know.


Pour in the remaining ingredients after the butter is sufficiently whipped. The frosting will look done before the additional 7 minutes are up. Please, please, please continue to mix it. This is the lightest, fluffiest frosting I've ever made.


Wow. Like I said, the cake is incredibly moist and rich. Even Jake and Leighton liked them, and neither of them are big chocolate fans. In fact, Jake requested these for his birthday - minus the pink frosting, of course. The frosting itself is so airy and light. Jake said, "This is so yummy! I can really taste the 3 sticks of butter in it." I admit, I ate more than my fair-share of it. It's that sweet-tooth I have. I just can't help myself.


We even made the pink glitter sprinkles (post coming.)  It was so quick, easy, and fun!

I'm so sad the cupcakes are gone. Mmm, they were good. Both of these recipes will be added to our permanent collection for sure.

Anyone have a birthday coming up and need me to make you a cake??? One condition - you have to share!


Classic Chocolate Cupcakes
Ingredients:
1 1/2 c  flour                                                         
1 tsp salt
1 1/2 c sugar                                                        
2/3 c buttermilk (or 2/3 c milk + 1 Tbsp vinegar)
1/2 c cocoa powder                                             
1/2 c brewed coffee or espresso, hot
1 1/2 tsp  baking soda                                          
1/3 c + 1 Tbsp vegetable oil
1 1/2 tsp  baking powder                                      
2 eggs, room temperature
1 1/2 tsp  cornstarch                                            
1 Tbsp  pure vanilla extract

Directions:
1. Preheat oven to 350° F and fill cupcake pan with  liners.
2. In the bowl of electric mixer fitted with the paddle attachment, sift all dry ingredients.
3. Add all remaining ingredients to bowl with the dry ingredients and mix for 2 minutes on medium speed and pour into prepared cupcake pan until just less than 2/3 full.  *Batter will be very liquidy.
4. Bake for 15-17 minutes, or until toothpick comes out with a few crumbs. Carefully remove cupcakes from the pan immediately and place them on a wire rack until completely cool.

Whipped Vanilla Frosting
Ingredients:
3 sticks + 2 tablespoons  unsalted butter, softened
3.5 cups  confectioners’ sugar, sifted
3 tablespoons milk
1 tablespoon pure vanilla extract
a pinch of salt

Directions:
1. In the bowl of an electric mixer fitted with the paddle attachment, whip butter for 8 minutes on medium speed. Butter will become very pale & creamy.
2. Add remaining ingredients and mix on low speed for 1 minute, then on medium speed for 6 minutes. Frosting will be very light, creamy, and fluffy.
3. Best used right away for ideal spreading consistency.


Pin It

Wednesday, October 19, 2011

Tasty Tuesday: Pumpkin Cupcakes with Cream Cheese Frosting

I've really come to love pumpkin desserts these last few years. I'm still not fond of pumpkin pie though. I'd rather scoop out the filling and eat just the crust. 

But these cupcakes taste amazingly just like pumpkin pie . . . and I can't get enough of them. 

Maybe it's the texture of the cake. Maybe it's the cream cheese frosting on top. Maybe my tastes have just changed. But whatever it is, I like it. And so does everyone else.

The list of ingredients is of fairly respectable length. All those spices add to the yummy goodness that you see above. The cakes are simple to make though.


But just in case something were to go wrong, Super Girl was right there to help out.

I'm convinced she made the cupcakes even better using her special baking powers.


If you don't have any buttermilk, you can make your own substitute by putting 1 tablespoon of white vinegar or lemon juice into a measuring cup and add enough milk to reach 1 cup. Stir and let sit for 5 minutes.


Cracking eggs is Jacob's favorite part. Seriously, if you're ever making a frittata or a quiche, he would love to save you some time and crack open all those eggs.

He might even pay you to do it.


My parents bought me this cute little spice grater and fresh nutmegs while they were on one of their elaborate vacations. The kids just love it. They wanted to grate the entire seed, but that would have resulted in dozens upon dozens of cupcakes, and that would not be good for my already-growing tummy.


You see this boy? He would live in footed pajamas if I let him. He wore holes in the bottom of the feet and needed patches. Then he wore holes in the patches. (Can you patch patches???) It's either footed pj's or just his undies. 

Boys.


Super Girl is quite adept with her baking skills. One taste of the batter, a face showing that something was not quite right, and a finger to her chin. "Hmm, it needs something," she informed us.

Oooh, I know! Frosting! (And I'm not even a super hero.)


Make sure to beat the cream cheese and butter until light and creamy before adding the powered sugar.

Unless you like the illusion of snow falling in your kitchen. I've done that a time or two. It's not as exciting as you might expect.


Cream cheese frosting is my absolute favorite. I could eat it on cookies. I could eat it on doughnuts. I could eat it off my finger. I could eat it off the spatula. It's the only reason I might eat a piece of carrot cake. (Now that's saying something.) 

This time we added cinnamon to half the batch to bring out the fall flavors of the cake. Oh. my. goodness. It tasted just like a cinnamon roll! That did not help my obsession with already trying to lick every last bit of goodness out of the bowl. Yum.


We used the handle of a spoon to drizzle caramel over the cupcakes with the plain cream cheese frosting. Wow. I really don't know which one I like better. I should probably test a few more. Or, I could drizzle the caramel on the cinnamon ones too. Wait, already tried that. 

Yep, no matter how you prepare them, this one's a keeper!


Pumpkin Cupcakes with Cream Cheese Frosting
Ingredients
Cupcakes:
4 c cake flour (not self-rising), sifted                         ¼ ts ground cloves
1 tsp baking soda                                                       1 c unsalted butter, room temperature
1 Tbsp + 1 teaspoon baking powder                         2½ c packed light-brown sugar
1 ts salt                                                                      4 large eggs
2 ts ground cinnamon                                                1 c buttermilk
1 Tbsp ground ginger                                               1½ c canned pumpkin (not pie filling)
1 ts freshly grated nutmeg

Frosting:
8 oz cream cheese, at room temperature                  1 tsp vanilla extract
4 Tbsp butter, at room temperature                          1 tsp cinnamon
4 c powdered sugar

Directions 
Cupcakes:
1. Preheat oven to 350°F. Line standard muffin tins with paper liners. Sift together flour, baking soda, baking powder, salt and spices.
2. With an electric mixer on medium-high speed, cream butter and brown sugar until pale and fluffy. Add eggs, one at a time, beating until each is incorporated, scraping down sides of bowl as needed. Reduce speed to low. Add flour mixture in three batches, alternating with two additions of buttermilk, and beating until just combined. Add pumpkin; beat until just combined.
3. Divide batter evenly among lined cups, filling each three-quarters full. Bake, rotating tins halfway through, until golden brown, 15 to 18 minutes. Transfer tins to wire racks to cool 10 minutes; turn out cupcakes onto racks and let cool completely. Cupcakes can be refrigerated up to 3 days in airtight containers.
4. To finish, use an offset spatula or a pastry bag fitted with a decorated tip to top the cupcakes with cream cheese frosting.

Frosting:
1. In a medium bowl, mix together cream cheese, butter, and vanilla. 
2. Gradually add powdered sugar and cinnamon, mixing well until it’s all incorporated.  
3. Use immediately or refrigerate.  The frosting will harden in the fridge, so plan on bring it back to room temperature if you must refrigerate it before frosting the cupcakes.


Pin It

Wednesday, April 13, 2011

Tasty Tuesday: Easter Brownies

Yesterday's baking was so easy, so fun, and so yummy! What more could you ask for?

Start by whipping up a batch of brownies.

Pour the batter in a greased, foil-lined pan.

After the brownies are baked and cooled, cut out ovals. We used round biscuit cutters because that's all we have.

This next step may be the most important of all.


I'm sure it is.


Don't miss it . . .


Make sure to eat the leftover scraps!         


Spread the pieces with frosting. We used chocolate because we had some extra in the fridge. And cause it's super good. Put the brownies in the fridge so the frosting can harden.

Make some colored frosting and be sure to leave them close to the edge of the counter so the baby can climb up on the step stool and help himself to the frosting while you're not looking.

With your best concentrating face, decorate the brownies to look like Easter eggs.

Take Jake's advice and  make some "macaroni and cheese" themed eggs.

Don't they just scream Easter eggs?

Choose the egg with the most frosting and devour it in seconds.

As soon as Alyssa saw that we were making brownies she said, "Mmm, chocolate. I love chocolate." That's my girl. I really think brownies should be added to the food pyramid. Fruits, vegetables, brownies. And that frosting? Heavenly. (You can find the recipe here.) It had been in the fridge, so I warmed it in the microwave to soften it up. Oh my goodness. I wanted to slurp it up through a straw! (I settled with a couple spoonfuls instead.) Yep, pretty sure I gained 5 pounds yesterday. Totally worth it though. As Jake was spreading it on his brownie, he channeled his Italian ancestors (Does he have Italian ancestors? I don't even know.) He proclaimed with perfect accent, "Ima makin a pizza!" 

Then he said something that made me so proud. So delighted to call him my child. I may have gotten a little teary-eyed. 

"It would be great to take a bath in this stuff!"


Yep, it's that good.

Pin It

Friday, February 18, 2011

Tasty Tuesday: Sugar Cookies

Jacob and Alyssa made Valentine's Day cookies for their friends at church. Yes, they got them on the 16th, but none of the children seemed to mind!


Cookies
Ingredients:
2 cups butter, softened                                           1 tablespoon butter flavored extract
3 cups white sugar                                                  7 cups all-purpose flour
4 eggs                                                                      2 teaspoons baking powder
1 tablespoon vanilla extract                                     1 teaspoon salt

Directions:
1. Cream butter and sugar. Add eggs and flavorings and mix well. Stir flour, baking powder and salt together. Add to batter and mix well.
2. CHILL 3-4 hours or overnight before using.
3. Roll dough approximately 1/4 inch thick and cut cookies.
4. Bake cookies at 350 degrees F for 8-10 minutes. This dough keeps well in a covered container in the refrigerator for a couple of weeks.


Frosting
Ingredients:
4 cups confectioners' sugar                                1 teaspoon vanilla extract
1/2 cup shortening                                                food coloring
5 tablespoons milk

Directions:
1. In a large bowl, cream together the confectioners' sugar and shortening until smooth. Gradually mix in the milk and vanilla with an electric mixer until smooth and stiff, about 5 minutes. Color with food coloring if desired.


We baked the cookies on Tuesday and frosted them on Wednesday. We halved both recipes, and used almond extract instead of butter extract. The cookies themselves are tasty even without frosting. Jake said over and over, "Mmm, these are delicious!"

The kids always enjoy rolling, cutting, and  decorating. I bought a little decorator bottle set from Pampered Chef (as seen in the post here.) The bottles are perfect for their little hands. Also, we can have 3 different colors without emptying and refilling my large Decorator Pro. There are not as easy to fill, and we did have a casualty early on when the purple top popped off, but overall, I love them.


They were so proud and excited to give the cookies to their friends and teachers on Wednesday night. It makes me happy to see my kids with a giving spirit. "It is better to give than to receive."
Pin It

Tuesday, September 14, 2010

Tasty Tuesday: Giant Chocolate Chip Cookie

I have always wanted to make one of those huge cookies you see at bakeries. I finally made one today!


Giant Chocolate Chip Cookie
Ingredients:
½ c (1 stick) unsalted butter, softened                          1 large egg
½ c granulated sugar                                                     1 ¼ c all-purpose flour
¼ c light brown sugar, packed                                       ½ tsp baking powder
½ tsp vanilla extract                                                       1 c semi-sweet chocolate chips
½ tsp salt                                                                        tube icing for decoration

Directions:
1. Preheat oven to 350 degrees. Line a baking sheet with parchment paper.
2. Using a mixer, beat butter, granulated sugar, brown sugar, vanilla, and salt until fluffy.
3. Add egg to the mixture and beat until incorporated.
4. In a separate bowl, whisk together flour and baking soda.
5. Turn the mixer back to the lowest setting and add the dry flour mixture to the wet butter mixture while the mixer is on low until incorporated.
6. Turn mixture off and stir in chocolate chips by hand.
7. Spread batter onto prepared baking sheet and shape it into a 8-9 inch circle, about ¾ of an inch in thickness.
8. Bake for 20-25 minutes or until lightly browned.
9. Remove from oven and cool completely.
10. When the cookie is completely cooled, remove it from the pan gently, using two thin spatulas. Place it on serving platter and decorate using tube icing.
11. Cut into wedges to serve.

We then made our own frosting. (Much better and more fun than buying it!) We halved the recipe. The original is below.

Buttercream Icing
Ingredients:
½ c solid vegetable shortening
½ c butter, softened
1 tsp vanilla extract
4 c sifted confectioner's sugar
4 tbs milk


Directions:
1. Cream shortening and butter with electric mixer.
2. Add vanilla. Gradually add sugar, one cup at a time, beating well on medium speed. Scrape sides and bottom of bowl often. When all sugar has been mixed in, icing will appear dry.
3. Add milk, one tablespoon at a time; beat at medium speed until desired consistency is reached.
4. Keep icing covered with a damp cloth until ready to use. For best results, keep icing bowl in refrigerator when not in use.
5. Refrigerate in an airtight container for up to 2 weeks. Re-whip before using.


They decorated the cookie using my Dessert Decorator Pro that Leighton bought for me. It is the easiest device to use. It works similar to a cookie press. You simply fill it with frosting, choose one of the six tips, push the button, and voila!


Our giant cookie was delicious! Crispy on the edges and chewy in the middle. I would suggest less frosting though!


Pin It