
One of the biggest questions I had when I started homeschooling my oldest child 2 years ago was "How am I going to keep the other kids busy?" My kids are by my side almost constantly all day long. To think that my littles were going to play quietly by themselves the entire time would be silly. Alyssa (4 yrs) has always enjoyed doing school. She will sit and fill out worksheets and coloring pages for an hour. Zac (2 yrs) though? He might color 1 page and be done in 2.79 seconds. I started to search the internet for activities that would be fun, education, and keep him busy. I even started compiling a bunch of busy bag activities before we went on vacation this past summer.
When I was given the opportunity to review Activity Bags, I was thrilled! This was exactly what I needed. Each e-book comes filled with self-guided activities that can be kept in a gallon-size zipper bag. All the books were created by 2 homeschooling moms. The books include all the instructions, supply lists, and printable pages you need for each activity. They are designed to be used in a swap and contain all the necessary info to help you in that process. I personally have been wanting to participate in an activity bag swap for a long time. The concept is very simple - get X number of people with kids, each person makes X number of bags of the same activity, and everyone swaps bags. So, if you have a group of twenty people, in the end, you'll have 20 different activities. It's an easy and inexpensive way to quickly increase your number of independent activities for your little one.
 There are currently 8 books with more in the works. We received the Preschool Bundle which consists of 2 books. Each book has 33-34 activities that prepare children ages 3-6 for kindergarten. They work on skills for counting, letters, colors, fine-motor, and more. The cost is very economical at only about $1 a bag and many of the supplies can be found around the house. Each e-book costs $15 individually or the set can be purchased for $27.
I first tried doing these activities with Alyssa and Zac while Jake (6 yrs) was doing other work. The only problem was that they were having so much fun that he wanted to play, too! From then on, we all did the activities together. Most of them worked just fine for all three ages. Some were a little too simple for Jake, and others were a bit too difficult for Zac. Every one was perfect for Alyssa though. During one activity from Book 1, I was explaining that a collage could be pictures placed all in one big pile instead of straight and organized. I told them that it's a different way to organize. Jake replied, "It doesn't sound organized to me. It sounds like messy." That's my boy!

When I was given the opportunity to review Activity Bags, I was thrilled! This was exactly what I needed. Each e-book comes filled with self-guided activities that can be kept in a gallon-size zipper bag. All the books were created by 2 homeschooling moms. The books include all the instructions, supply lists, and printable pages you need for each activity. They are designed to be used in a swap and contain all the necessary info to help you in that process. I personally have been wanting to participate in an activity bag swap for a long time. The concept is very simple - get X number of people with kids, each person makes X number of bags of the same activity, and everyone swaps bags. So, if you have a group of twenty people, in the end, you'll have 20 different activities. It's an easy and inexpensive way to quickly increase your number of independent activities for your little one.
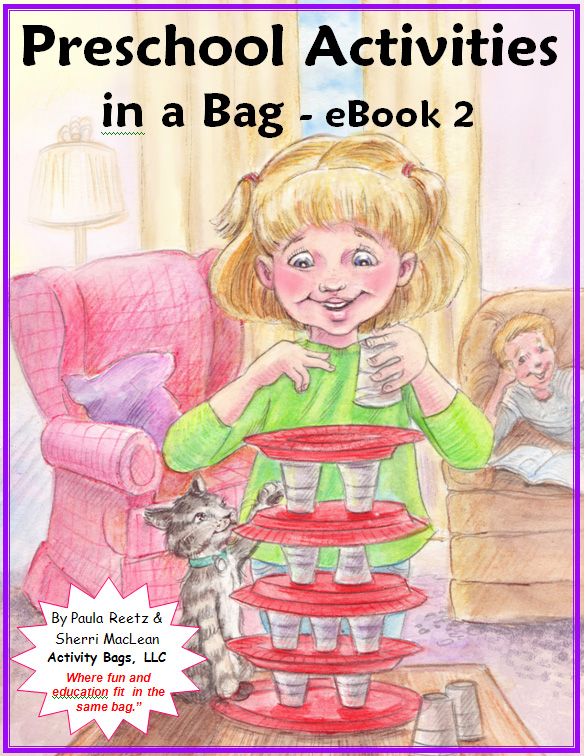 There are currently 8 books with more in the works. We received the Preschool Bundle which consists of 2 books. Each book has 33-34 activities that prepare children ages 3-6 for kindergarten. They work on skills for counting, letters, colors, fine-motor, and more. The cost is very economical at only about $1 a bag and many of the supplies can be found around the house. Each e-book costs $15 individually or the set can be purchased for $27.
I first tried doing these activities with Alyssa and Zac while Jake (6 yrs) was doing other work. The only problem was that they were having so much fun that he wanted to play, too! From then on, we all did the activities together. Most of them worked just fine for all three ages. Some were a little too simple for Jake, and others were a bit too difficult for Zac. Every one was perfect for Alyssa though. During one activity from Book 1, I was explaining that a collage could be pictures placed all in one big pile instead of straight and organized. I told them that it's a different way to organize. Jake replied, "It doesn't sound organized to me. It sounds like messy." That's my boy!

 We were also blessed to receive the Science Bundle containing 3 books. Again, each book cost $15 individually, $27 for two, or $39 for all three. Each one comes with 25 different simple science experiments that your child can see, touch, manipulate, modify, investigate, and solve. Each book focuses on different branches of science. Book 1 includes experiments in biology, general science, and nature. Book 2 has experiments dealing with chemistry, the human body, and general science. Book 3 is filled with all chemistry experiments.They are all geared towards kids in K-8th grades. Again, they can be used in a swap or simply at home by yourself.
As you may know, my kids love science and conducting experiments. I plan experiments for every Thursday, but the kids are always performing their own throughout the week. These books have made it so easy for me to have an experiment ready to go on Thursdays or just any time they're in a scientific mood. The lists are simple to gather, the instructions are easy to understand, and the activities are fun and engaging. Some of them include Secret Messages, Green Copper, and Floating Egg. The books also include log sheets, notes, and observation questions. With a total of 75 experiments, I won't have to do any research to find experiments for a while.

We have loved using these books! There are also books for Reading Games in a Bag, Math Games in a Bag, and Travel Activities in a Binder. They are even currently creating 3 Craft Kits in a Bag. I personally am very excited to buy more books. They are very thorough and offer many activities that are great for the kids. I definitely plan to host a swap in the future. If you're local and would like to participate, let me know.
If you'd like to get a feel for the activities and all they offer, you can fill out a brief survey and get some samples for FREE! Trust me, your kids will thank you.
If you're interested in some of the other books offered or if you'd like to see more reviews of the preschool and science books, head over to the Schoolhouse Review Crew blog.
* Disclaimer - I was given these e-books in exchange for my honest review. All opinions are my own.


